A few months ago I totaled my ’03 Nissan 350Z. After about a month I started missing it and decided to replace it. I upgraded to a ’13 370Z Nismo Edition. I love everything about it so far, except that the Nismo edition doesn’t come with a lot of electronic entertainment bells and whistles. I started looking around and came across the Kenwood DDX790 receiver. It’s a double DIN receiver with Bluetooth, aux input, DVD playback, backup camera input, SiriusXM ready, and other features that I wanted.
My old 350Z had a HomeLink mirror that opened my garage door for me and also powered my radar detector. I wanted these features back so I decided to add them in as I installed the stereo as well. Here are some pictures of the install and the ways I integrated the whole system into my car.
Here’s the stock stereo on the left and the new Kenwood on the right. Notice the radar detector cable running up the side is gone in the photo on the right.


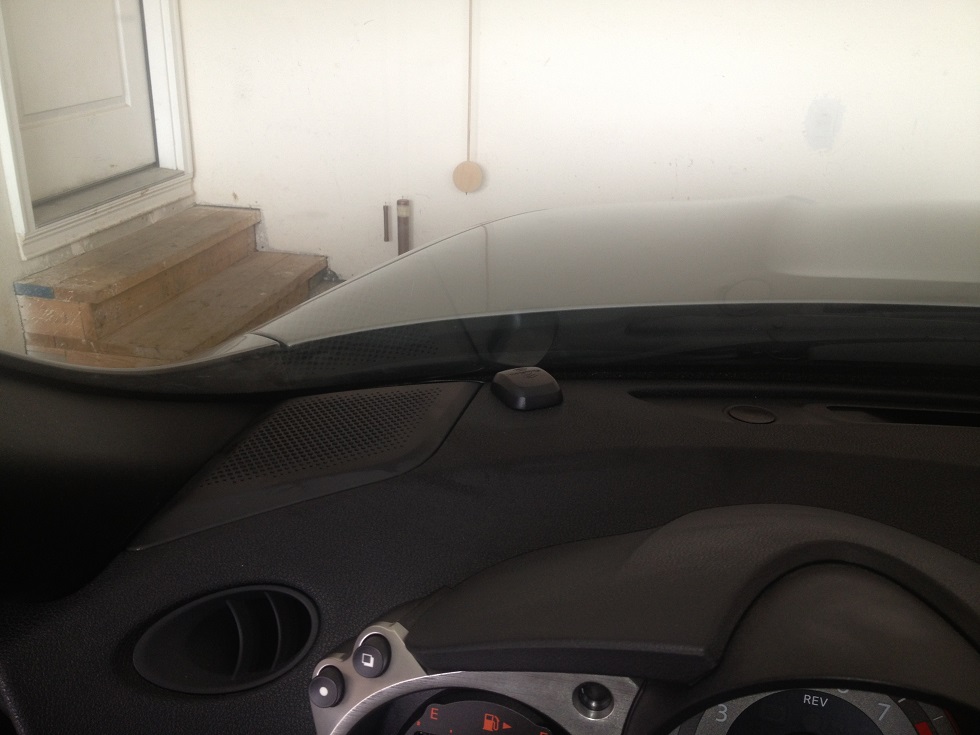
Part of the install included mounting the bluetooth microphone and the SiriusXM receiver. The microphone came with the Kenwood receiver, but the satellite radio did not. I used the SiriusXM SXV200v1 satellite radio tuner for my install. I mounted the microphone at the top of the driver’s side A pillar (left photo) and the radio antenna on the driver’s side dash (right photo). The wire is tight enough that the antenna stays put without any adhesive. It was easy to install both of these because they took almost the exact same path.

The steering wheel radio controls need a special adapter to make them work with aftermarket radios. I chose the Metra ASWC-1 universal steering wheel control interface. I had a hell of a time getting this to program correctly. I found out later there is a special setting you have to enable on the Kenwood receiver to allow remote inputs. After finding that setting it went smoothly, but I did have to use the manual programming mode on the Metra because it didn’t recognize all of my buttons automatically.
Next, I wanted to make the Kenwood rear auxiliary input and USB input easily accessible. I decided to add them to the center console next to the 12V power plug. The picture on the left shows two custom cables I made from a USB cable and an audio cable. I terminated the USB cable with this plug and the audio cable with this plug. I made a template and cut out the openings in my center console. The picture on the right shows the final product.


Then I bought a direct wire kit for my radar detector and ran it from the 12V outlet in my center console to the rear view mirror. I spliced it in to the 12V outlet and mounted the radar detector using a Z Mount.


The final touch was making use of the blank buttons on my center console. They used to be blank pieces of plastic that weren’t actually buttons. I found some switches online that fit and installed three of them to make it uniform. The far left one I wired to one button on a universal garage door opener. Now I don’t have a garage door opener on my visor and at least one of the buttons has a purpose. Now to think of something for the other two…

I meant to take more pictures of the dash disassembled and the paths of the all the wires, but I didn’t feel like stopping once everything was taken apart. Let me know if you have any questions about the specifics of the install in the comments below.

I’m looking at this same HU for my base 370z. It doesn’t appear as though you’ve used any add’l bezel around the radio. Are the gaps noticeable or have you put something in place? I’m looking to order from Crutchfield and it appears that one of the bezels provided would cover up the gap but I’m uncertain if that’s really the case.
LikeLike
There’s a small gap, but I don’t think it’s noticeable. If you find a bezel that fits well let me know.
LikeLike
Pingback: 370Z Upgrades Part 2 | Stray Bytes
it doesn’t look like a Nismo to me, more of a base model
LikeLike
Thanks for your contribution. Red stitching is what you must have missed.
LikeLike
Which radar detector are you using and why?
LikeLike
Beltronics V955, it’s nothing special, but I had one like it before and it never missed a cop. So I stuck with this series. It has saved me many times.
LikeLike
Awesome, need to get one of those. Thanks!
LikeLike